Live Monitoring
Live View is the real-time video wall. Tiles keep each camera’s real aspect ratio — video is never stretched.
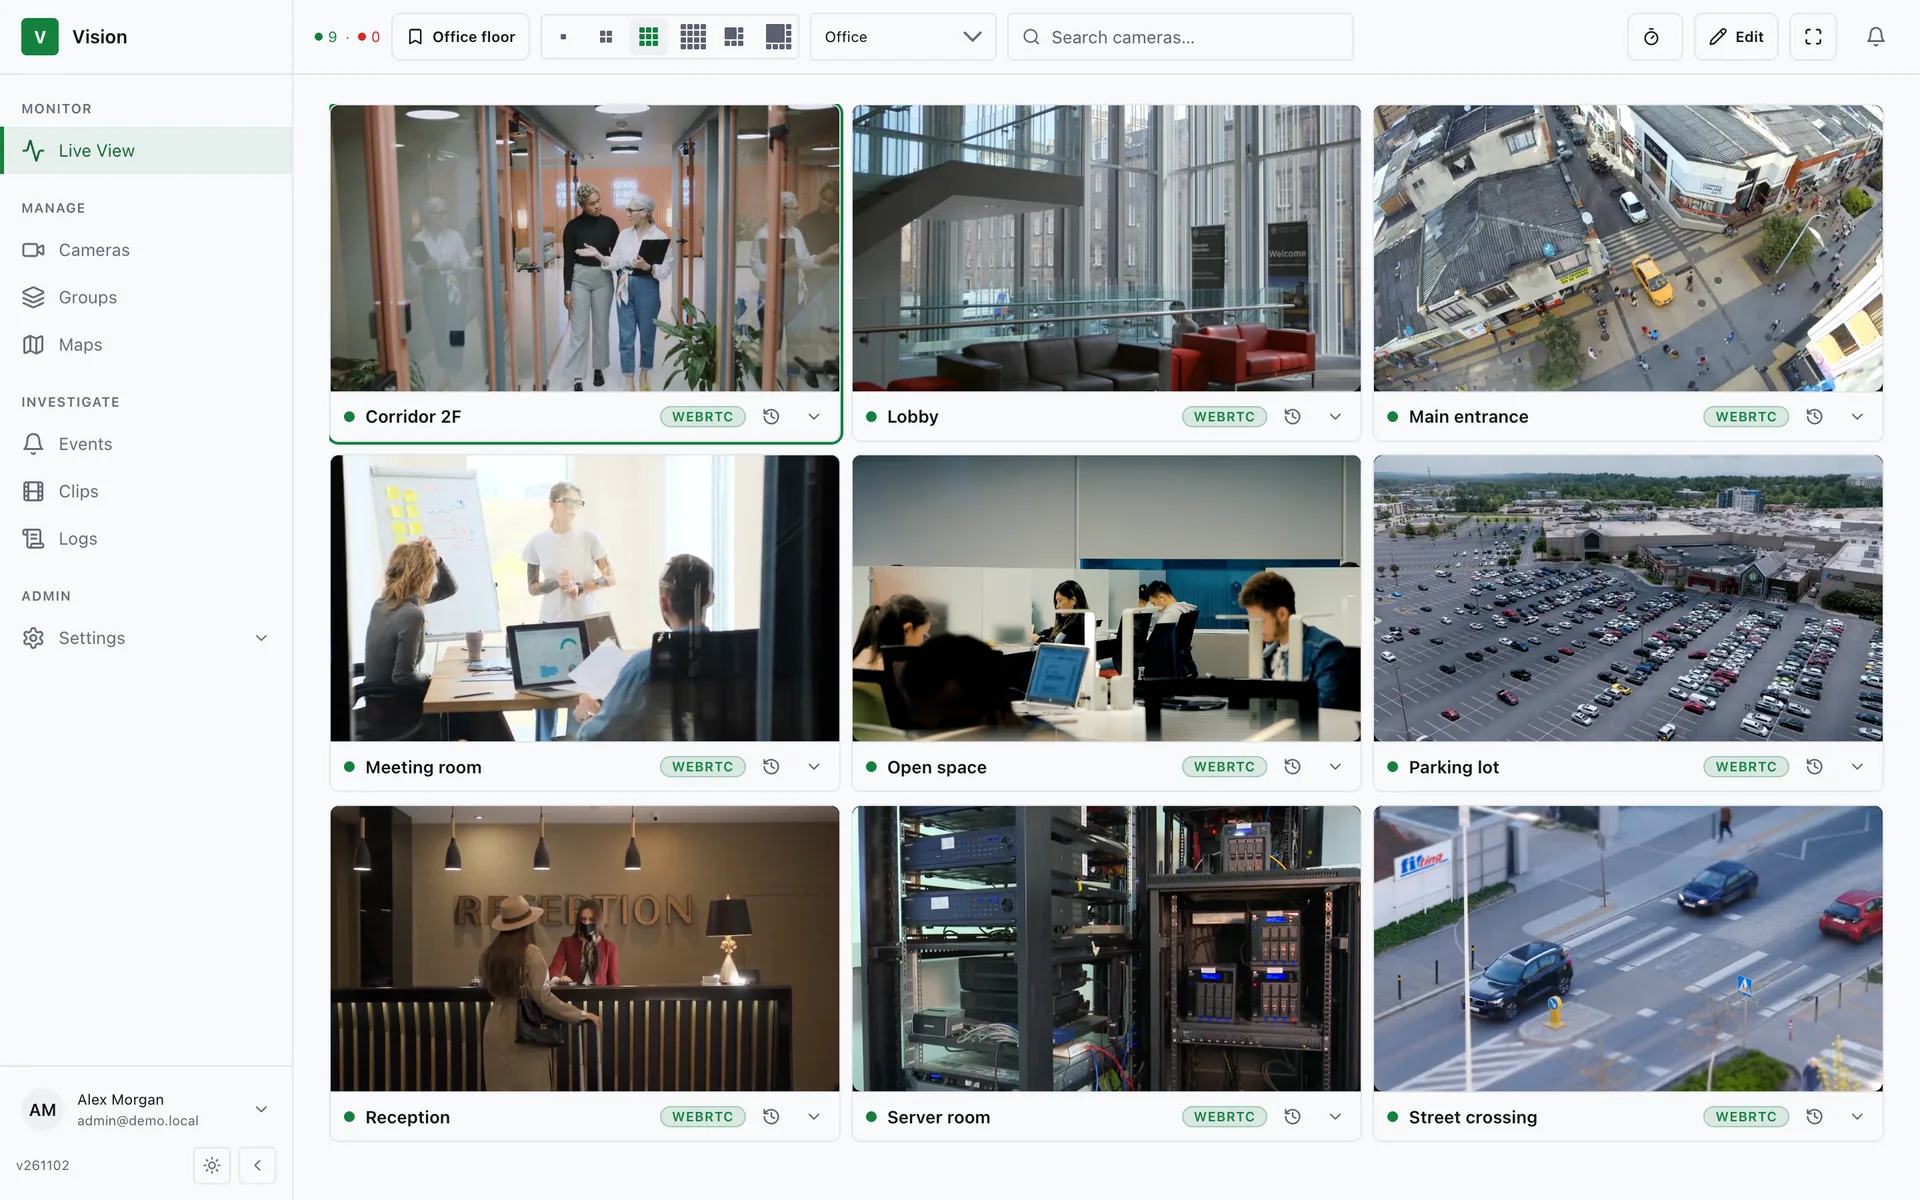
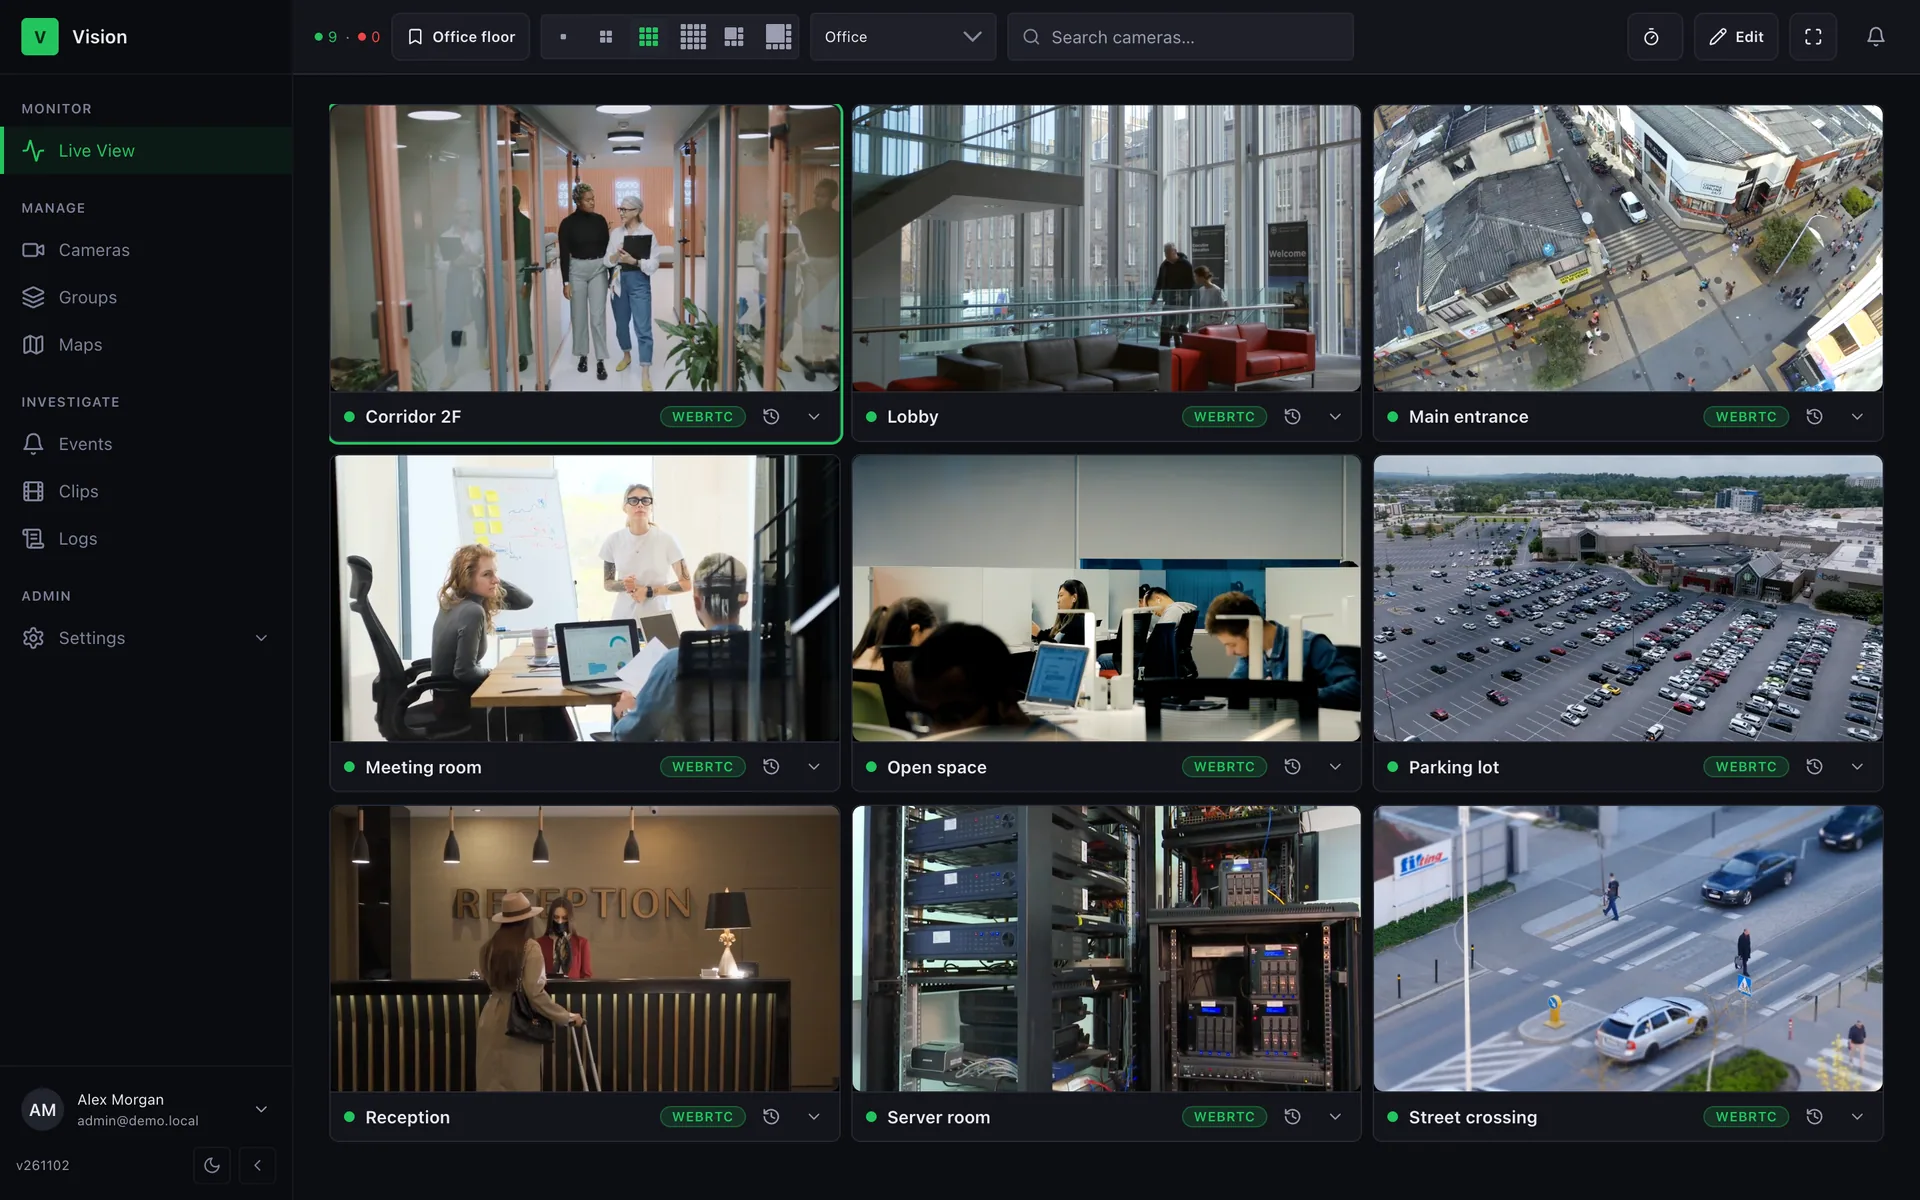
Toolbar
Section titled “Toolbar”

| Control | What it does |
|---|---|
| View | Pick, save, and manage saved walls. See Saved views. |
| Layout | 1×1, 2×2, 3×3, 4×4, or the hotspot layouts 1+5 and 1+7 (one large cell). Extra cameras go to further pages. |
| Source | All cameras, a group, a map, or Custom selection…. |
| Search | Filter tiles by camera name. |
| Auto | Page through the wall every 10, 20, 30, or 60 seconds. |
| Edit | Change which cameras are on the wall and in what order. |
| Full screen | Only the wall on screen, with a small exit button in the corner. |
On a phone the toolbar is one row: View · Layout · Source · Search · ⋯ — Auto, Edit, and Full screen are under ⋯. A phone opens at 2×2.
Saved views
Section titled “Saved views”A view saves the layout, source, auto-cycle, and an optional number key. Views are stored on the server, so they follow you to any workstation.
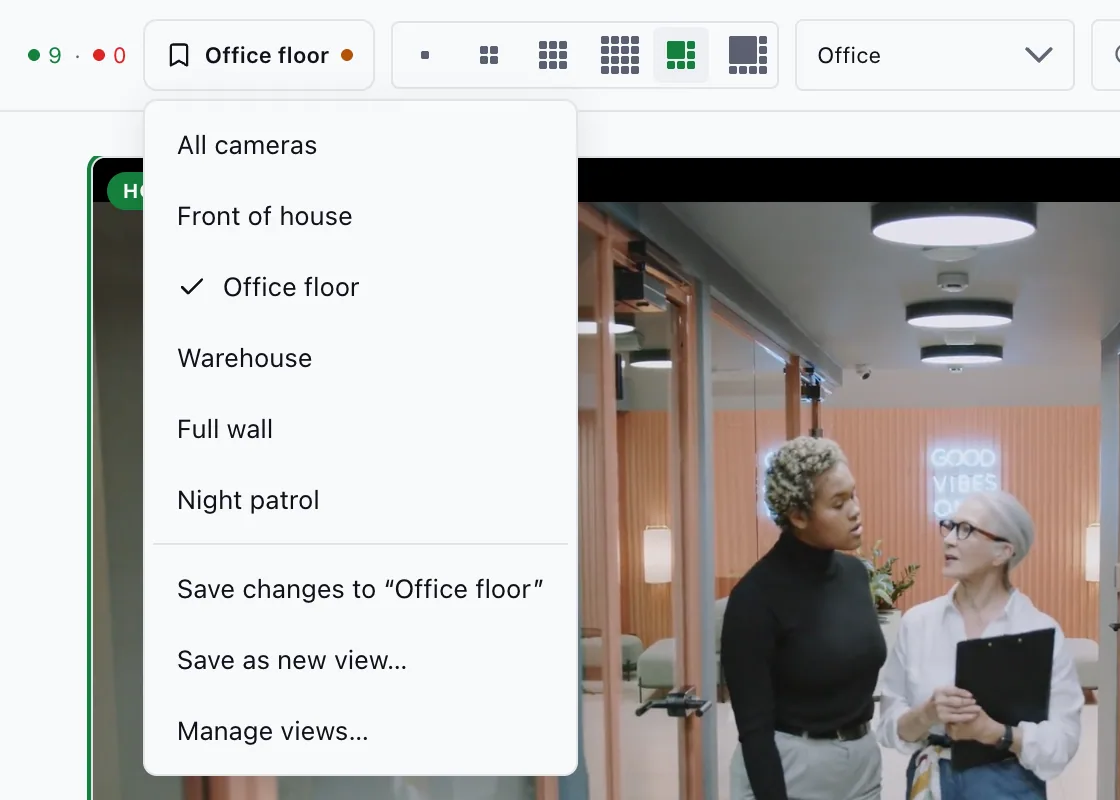
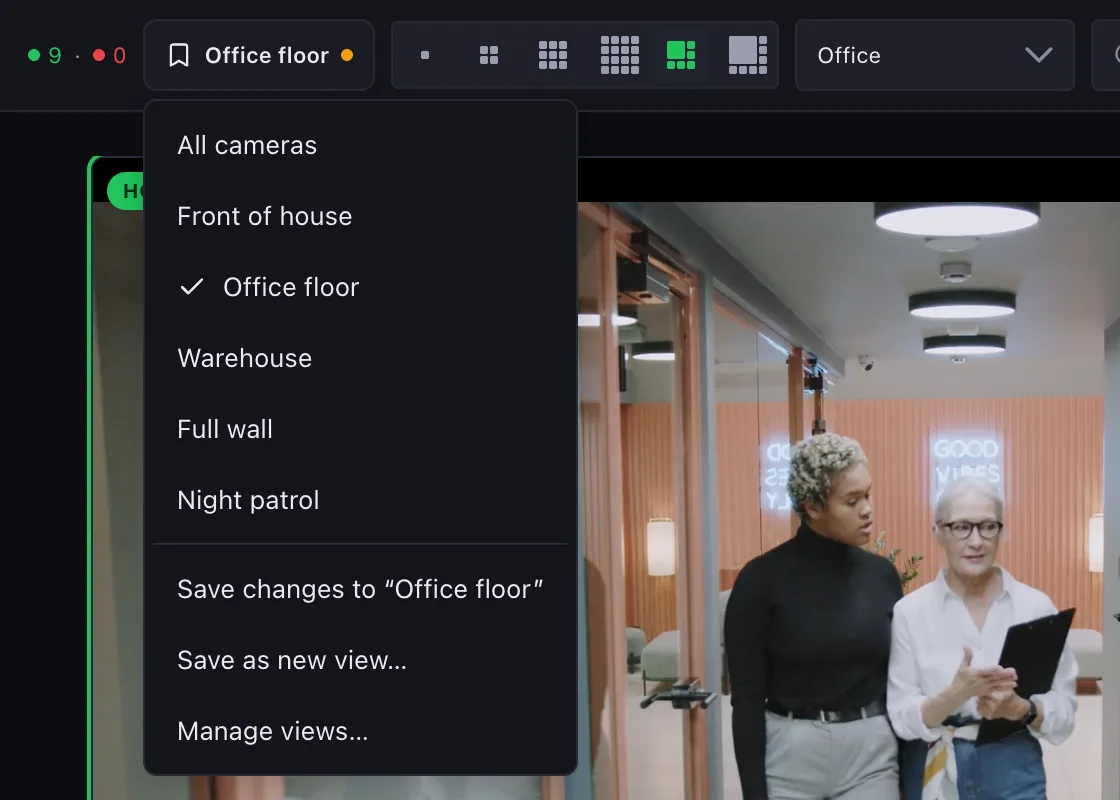
- Press
1–9to open a view,0for all cameras. - An amber dot means the wall differs from its view: Save changes, Save as new view…, or Manage views… (rename, key, order, delete).
- Up to 30 views per user.
Auto-cycle
Section titled “Auto-cycle”Auto pauses while you use the wall — pointer over it, a camera open, edit mode, a menu open, or the tab in the background — and resumes on its own.
Edit mode
Section titled “Edit mode”Edit (or Source → Custom selection…) turns the wall into an editable list.
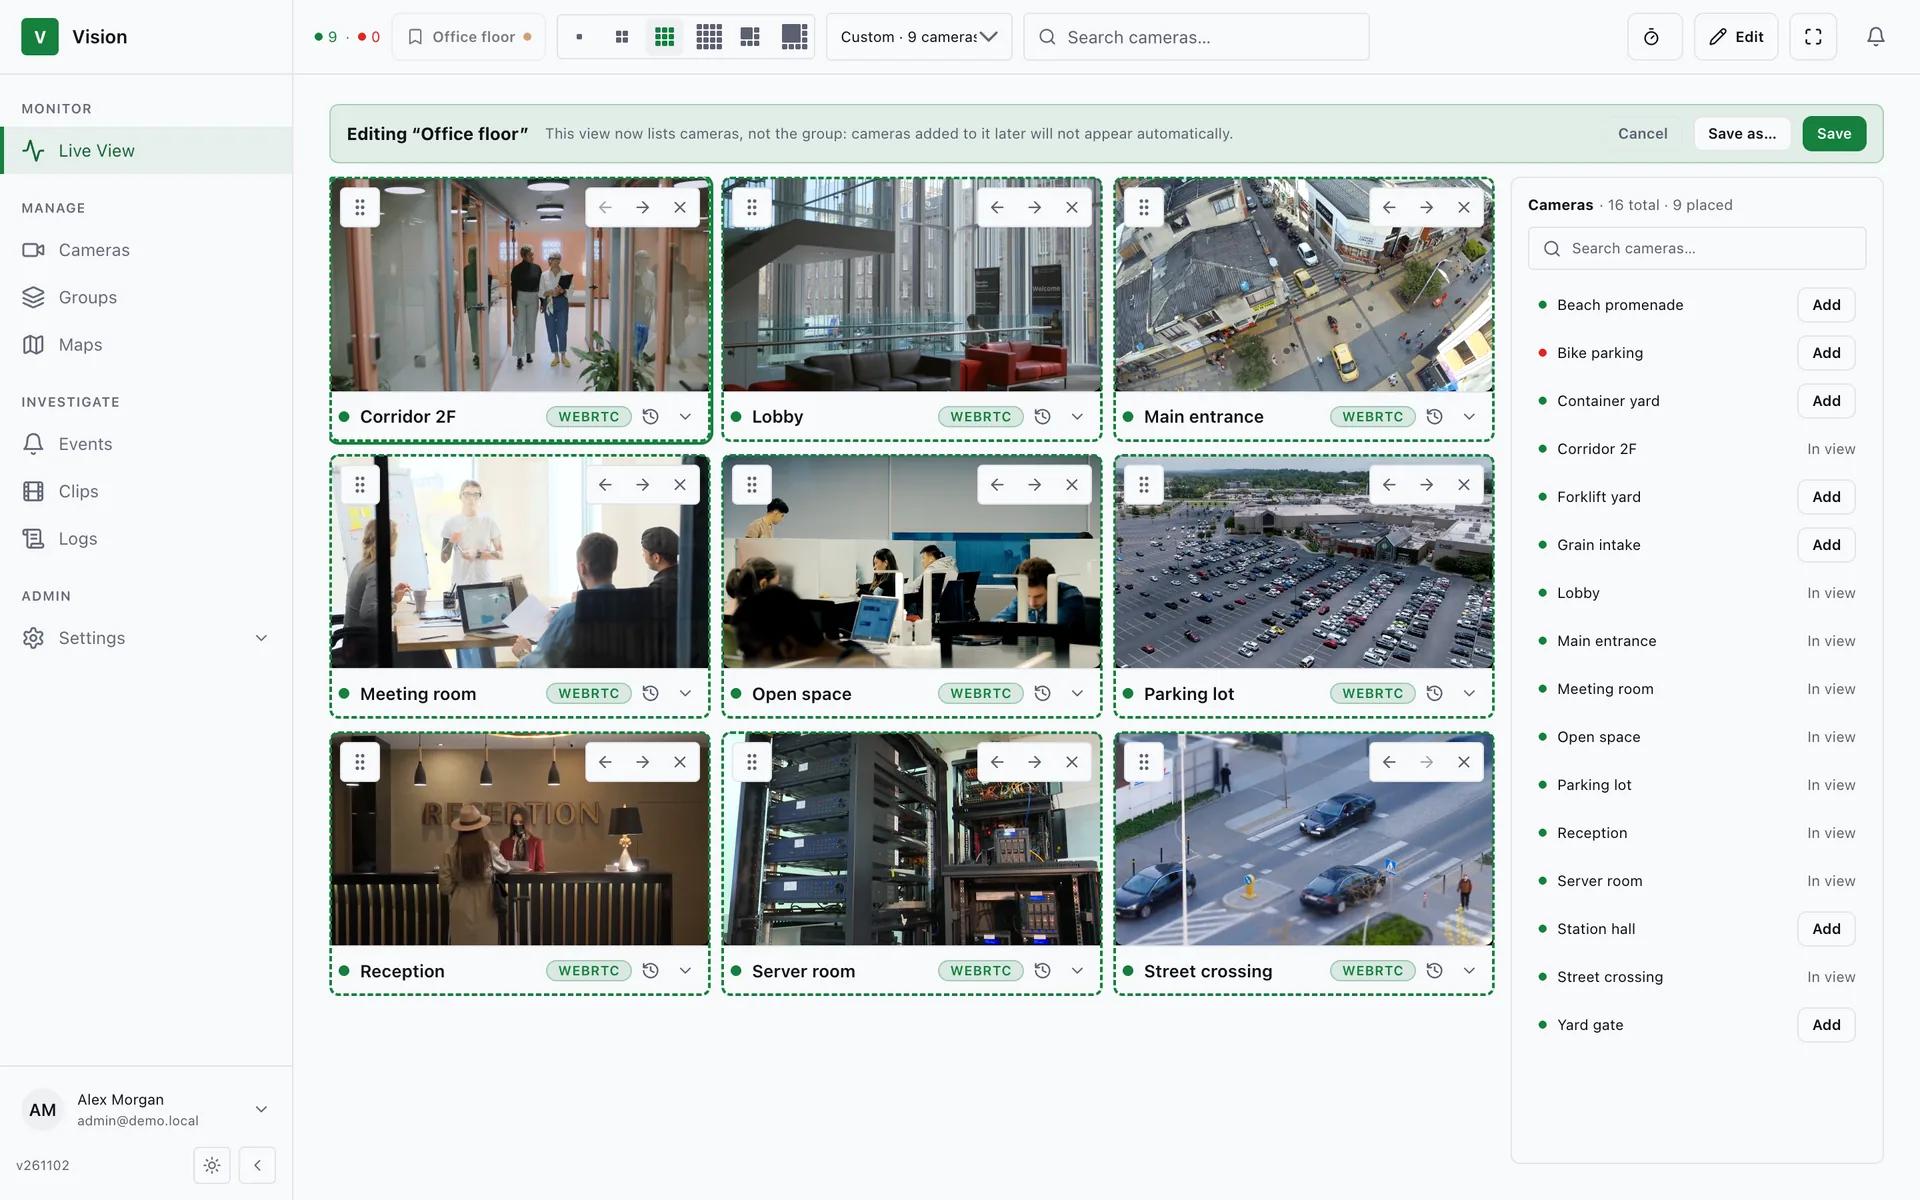
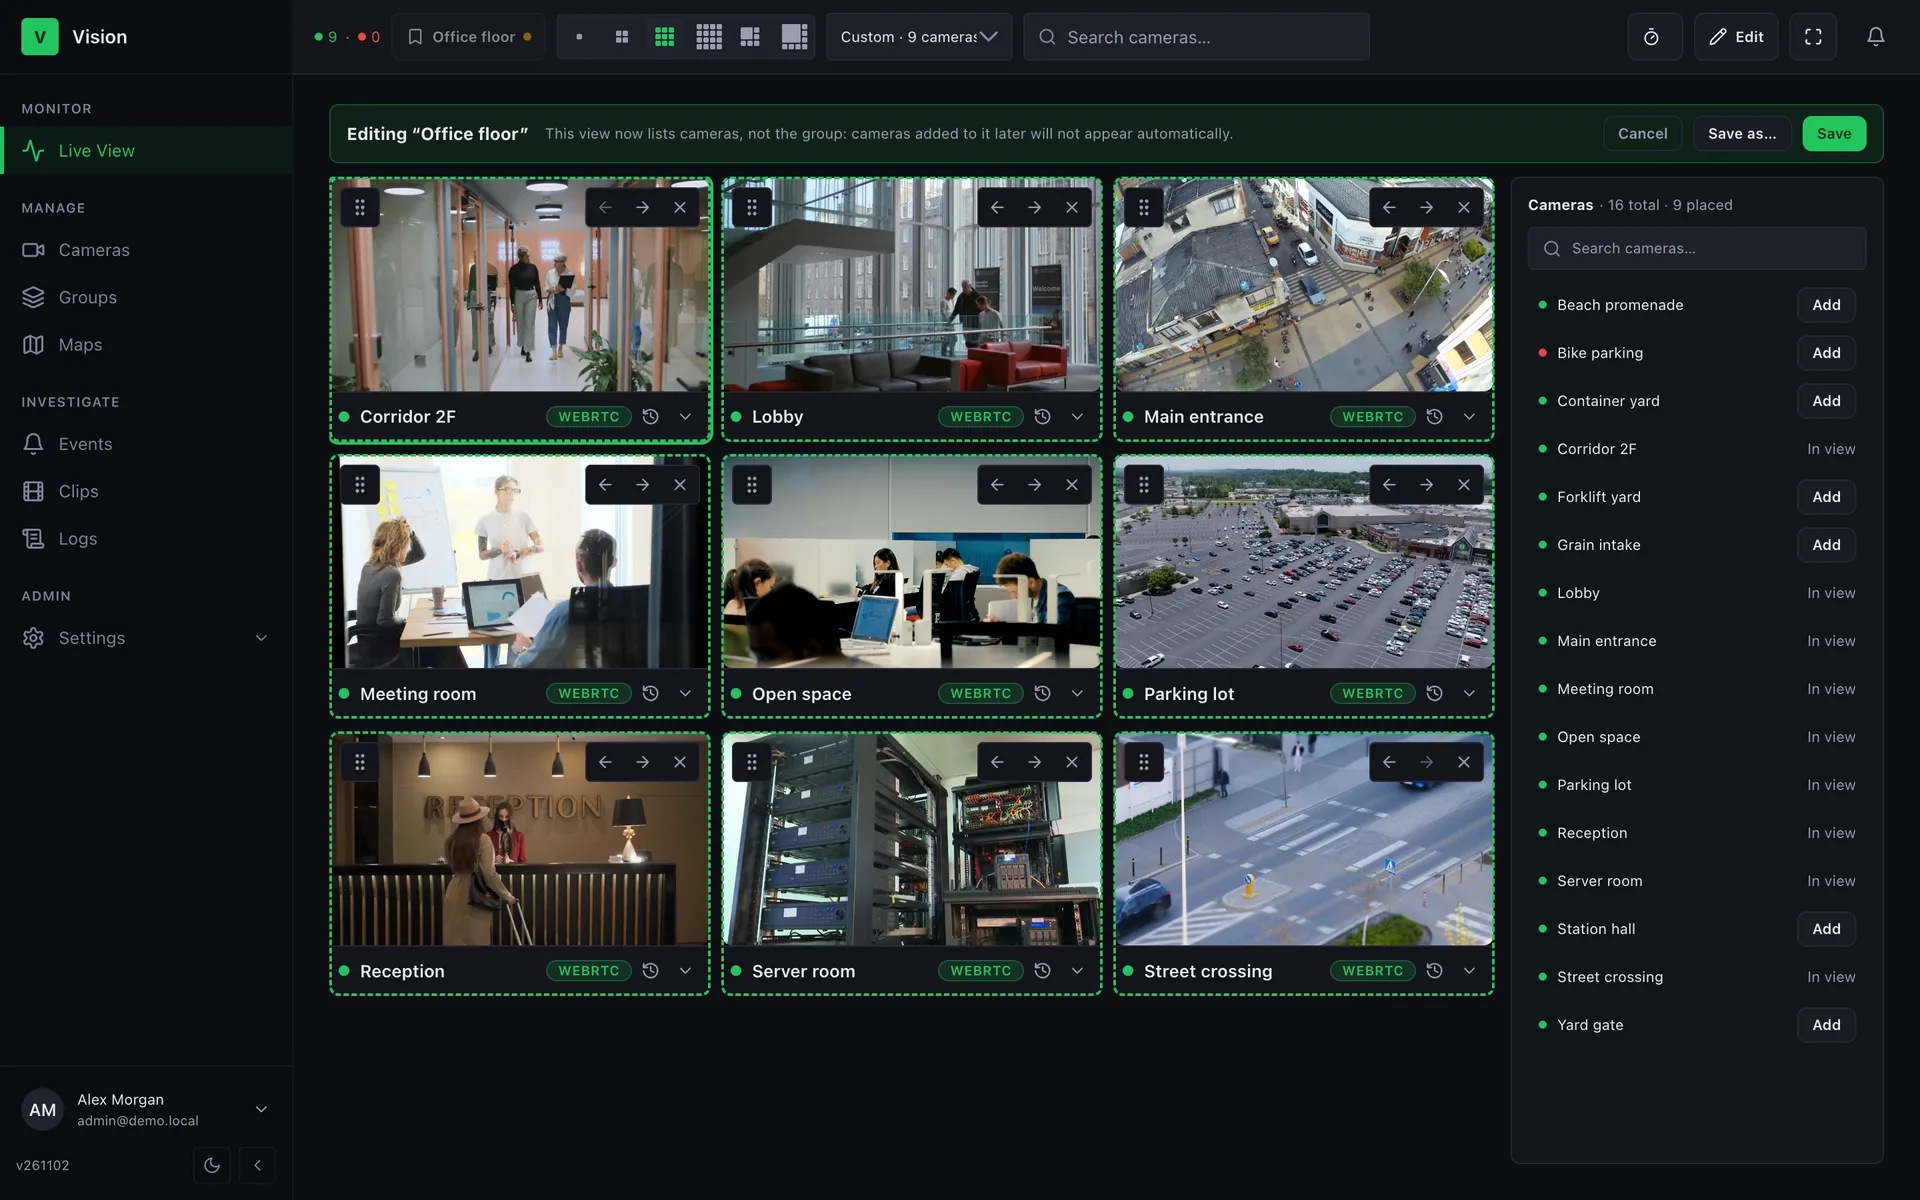
- Add cameras from the side panel, or drag them onto a tile or an empty cell.
- Drag tiles onto each other to swap; use the buttons on a tile to move it or remove it.
- Save updates the current view; Save as… creates a new one. Cancel or
Escrestores the wall.
Streams keep playing while you edit.
- Click a tile to focus it. In 1+5 and 1+7 it moves into the large cell (HOTSPOT) without restarting streams.
- Double-click (or
Enter) opens the camera full size. - View archive in the footer opens the camera on its Archive tab.
The footer shows the status dot, the camera name, and the transport (WebRTC or HLS). Click the name to expand it:
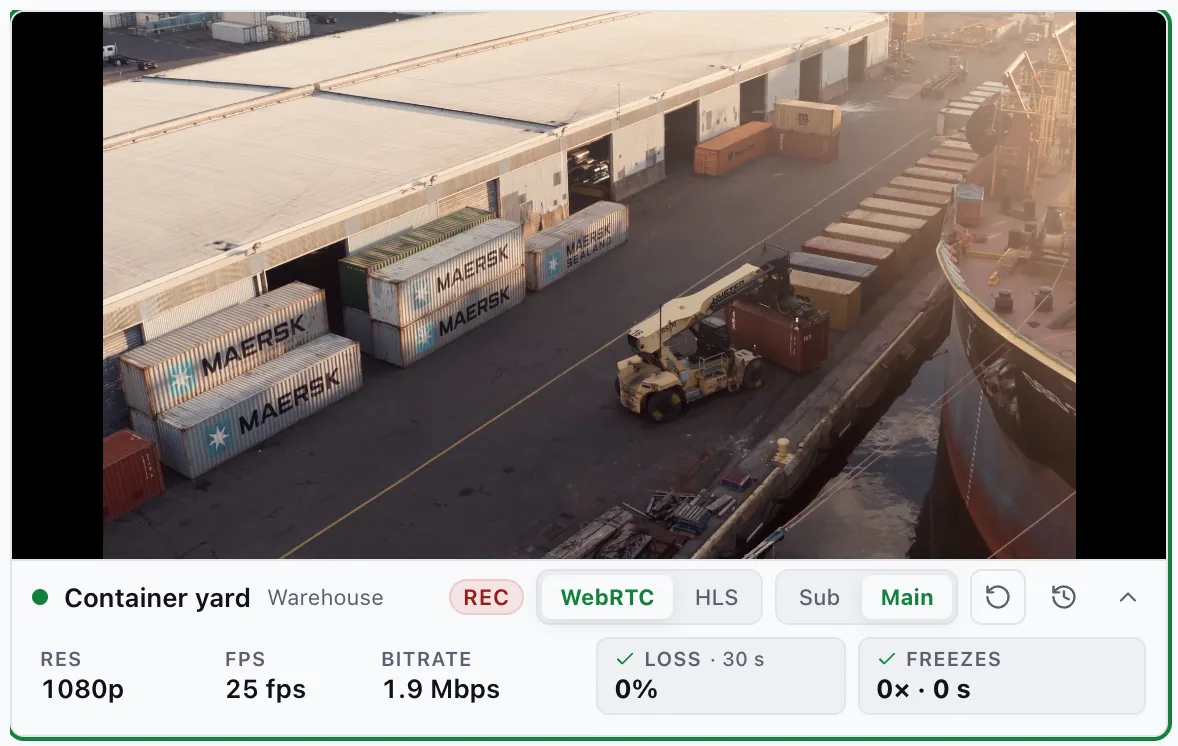
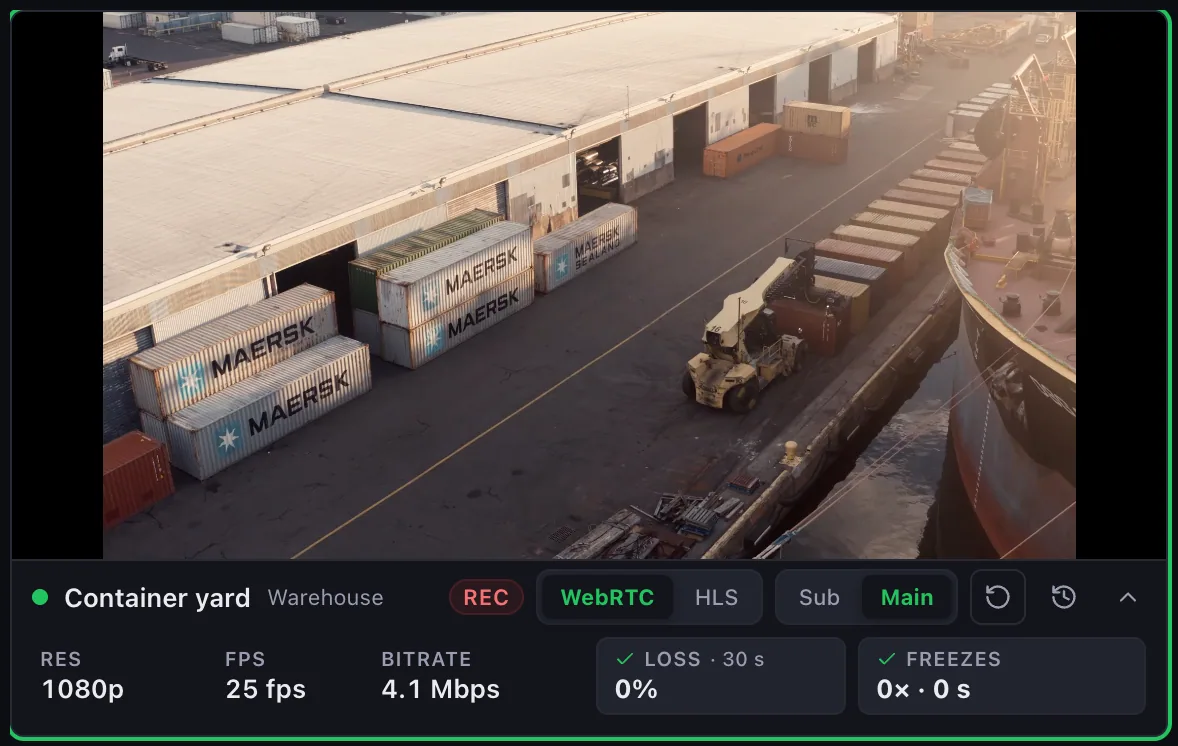
- Resolution, FPS, bitrate, Alta server, REC.
- WebRTC | HLS switch and refresh.
- Sub / Main switch for cameras with a Sub stream.
- Loss — packets lost in the last 30 s (WebRTC only).
- Freezes — playback stalls in the last 30 s.
Loss ≥ 0.5 % or any freeze turns a chip amber; loss > 1 % or 3+ freezes turns it red. If every camera of one Alta server turns amber or red, suspect the network between the browser and that server.
An offline tile shows No signal and a Reconnect button.
Streaming
Section titled “Streaming”Each tile tries WebRTC (WHEP) first and falls back to HLS. H.265 cameras go straight to HLS in browsers that cannot decode H.265 over WebRTC.
To save bandwidth and CPU:
- Paging starts video only on the page you stop on.
- A wall in a background tab releases its streams after a minute and resumes when you return.
- On a phone, tiles scrolled out of view pause.
When a server is unreachable
Section titled “When a server is unreachable”All tiles of that server turn amber — Server unreachable, reconnecting automatically — over the last frame. A line above the wall names the server (admins get Open server). Tiles reconnect on their own when the server is back.
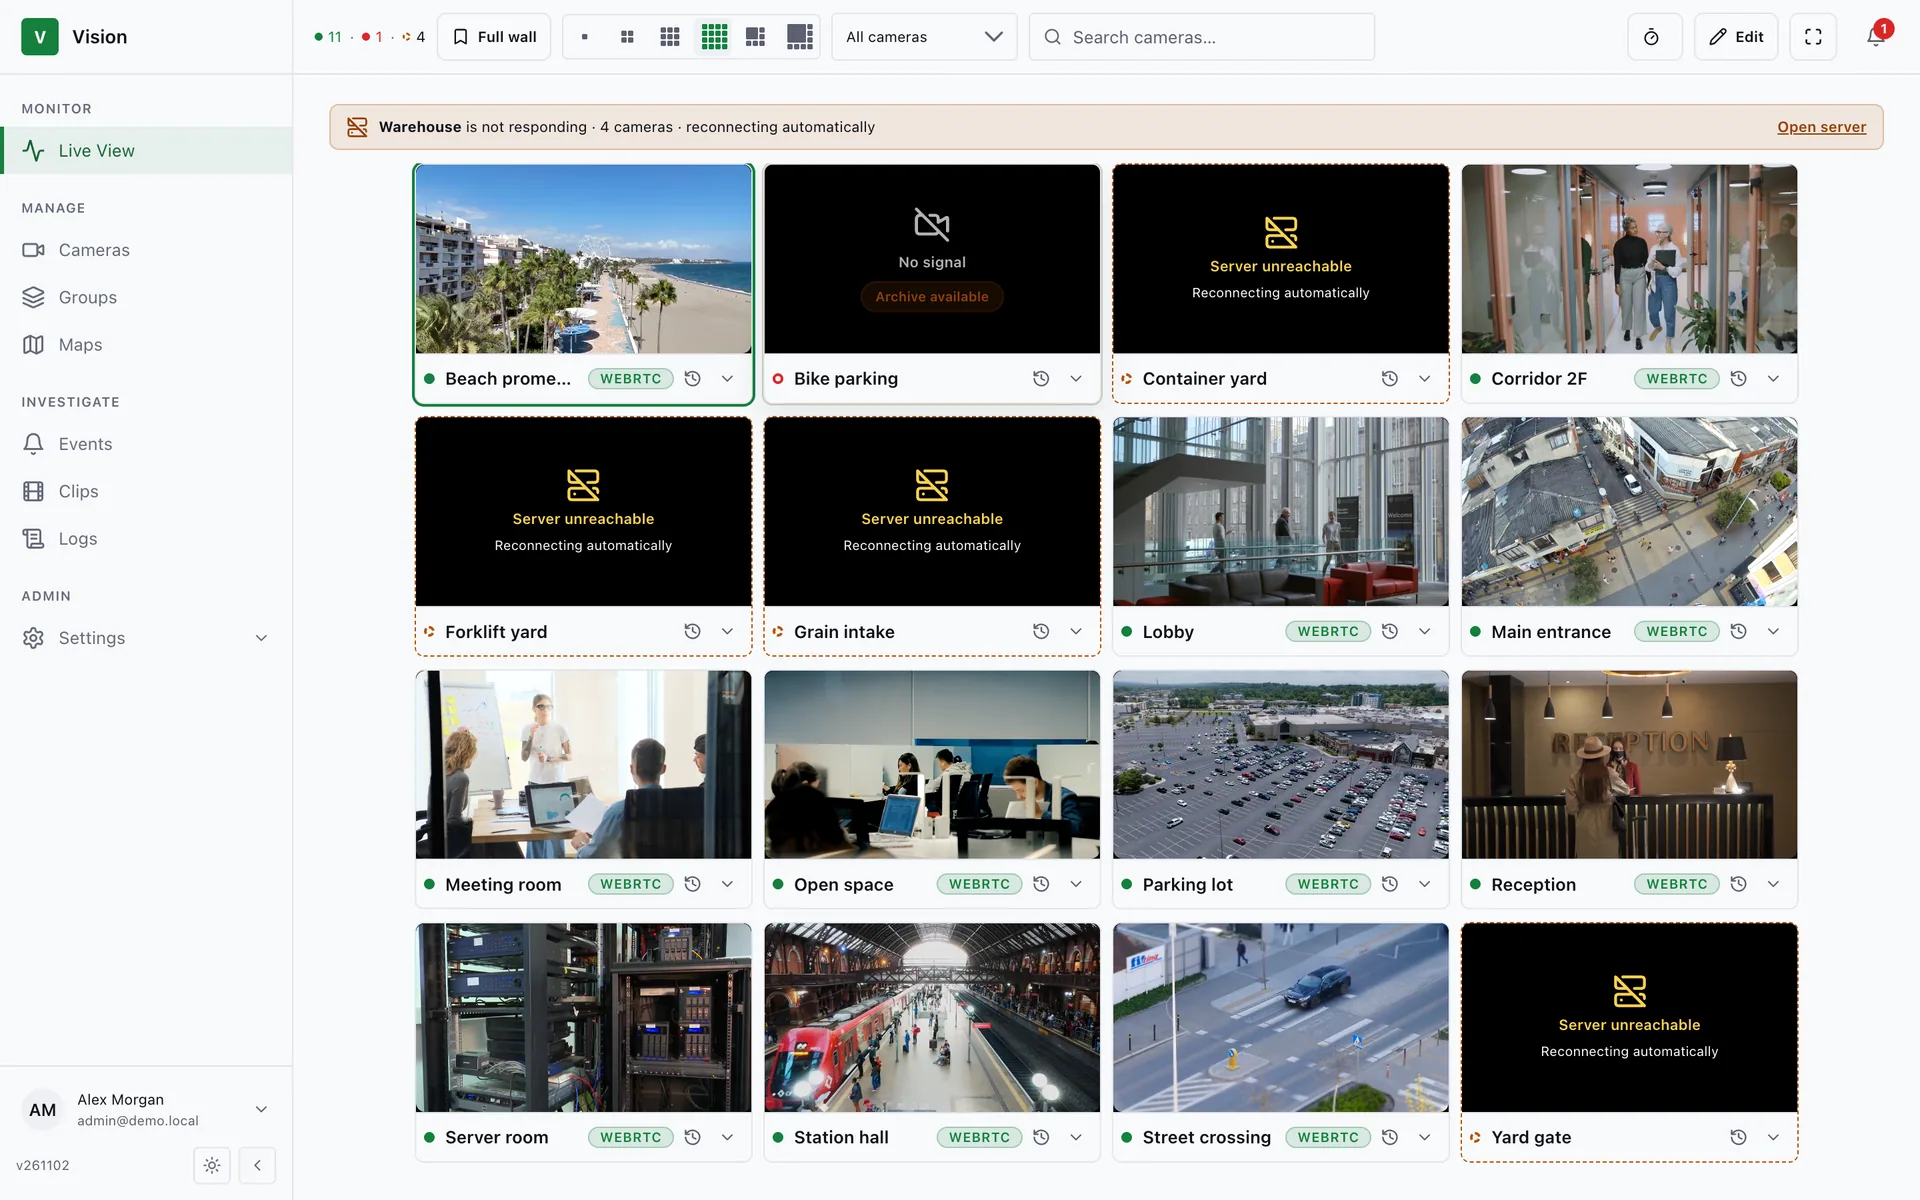
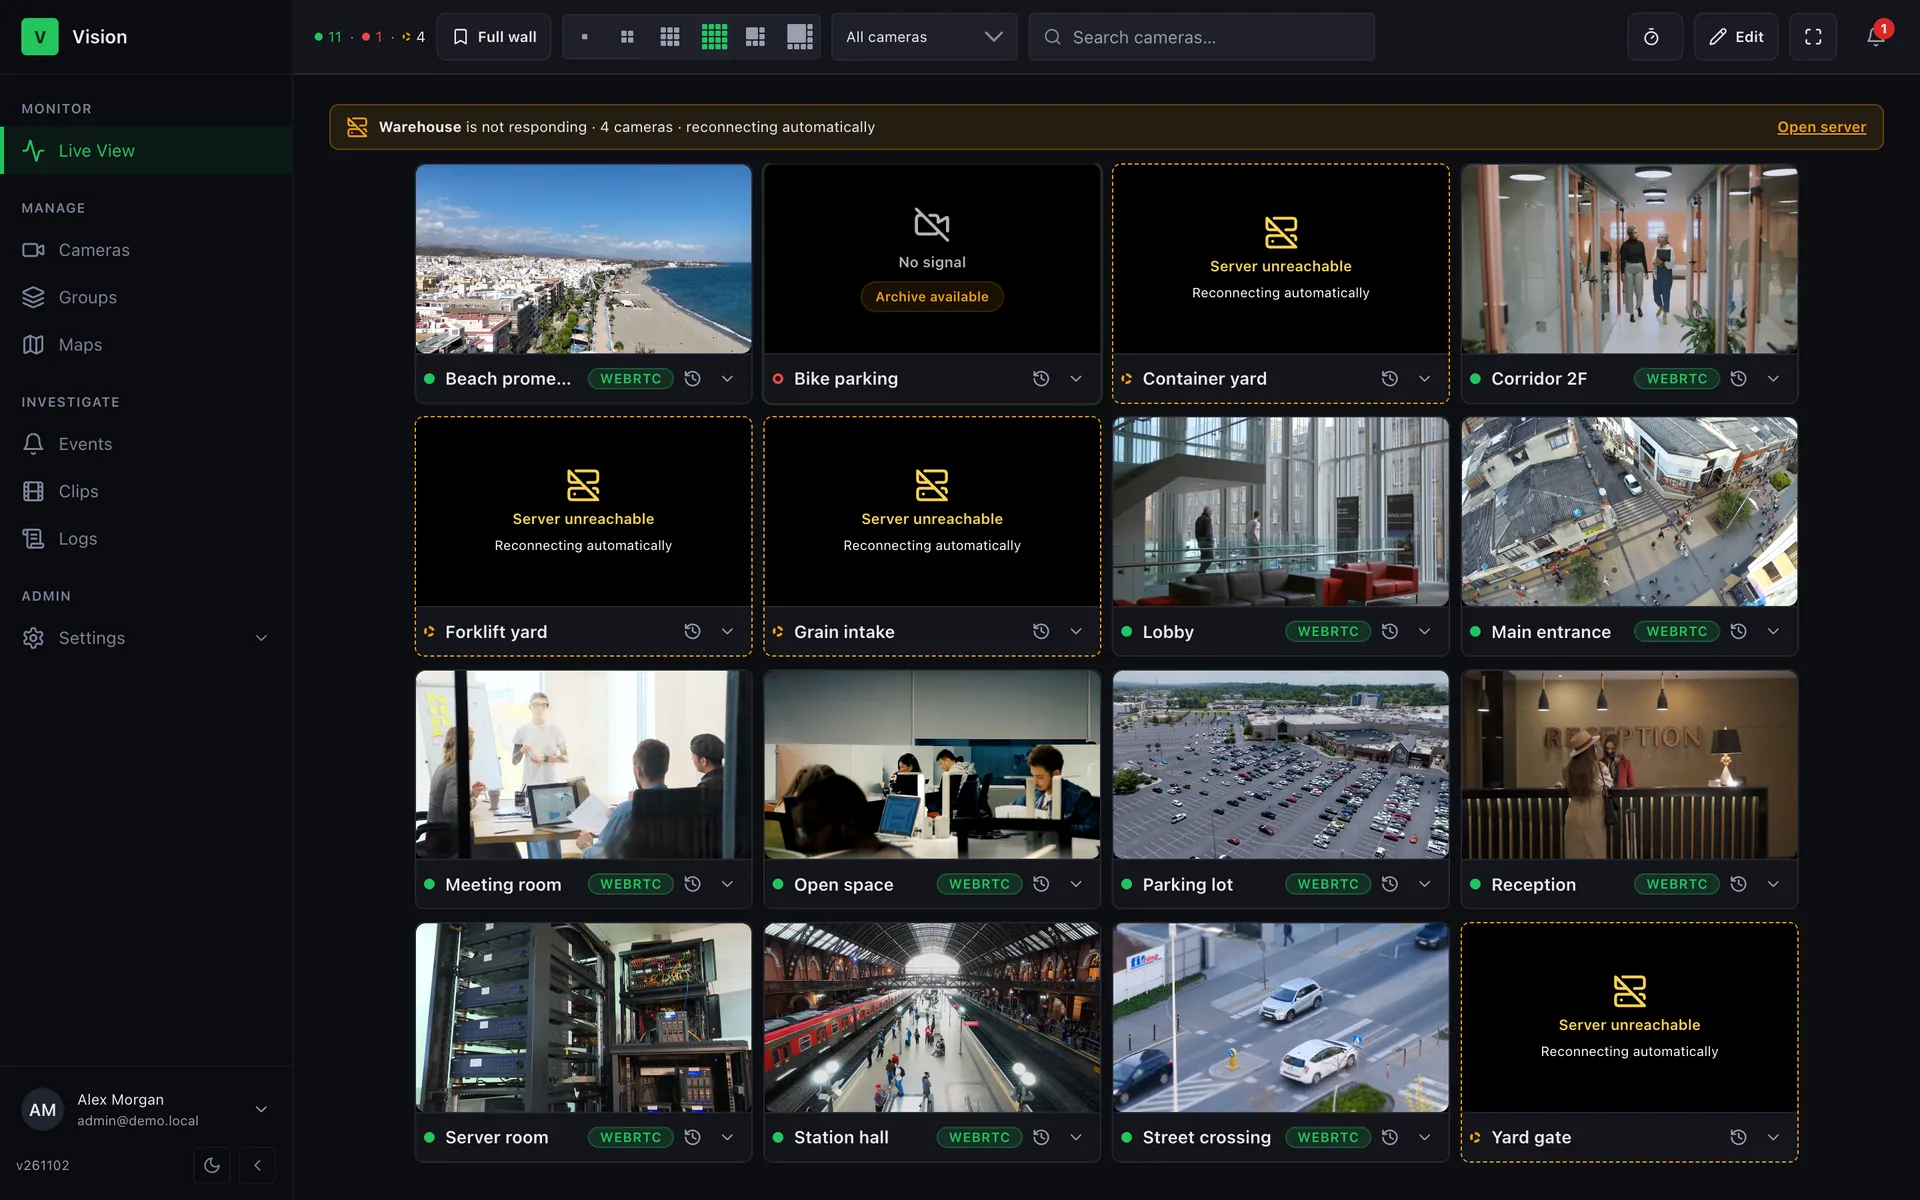
Config drift does not affect the wall — only a real outage does.
Keyboard shortcuts
Section titled “Keyboard shortcuts”| Key | Action |
|---|---|
1–9 / 0 | Open saved view / all cameras |
Ctrl+← Ctrl+→, PageUp PageDown | Previous / next page |
Alt+1–Alt+9 | Open tile N full size |
Enter / Space | Open the focused tile |
Esc | Close the camera, or cancel edit mode |
S | Screenshot (in the camera overlay) |
Camera overlay
Section titled “Camera overlay”Double-click a tile to open the overlay: a larger player, the transport badge in its top bar, and tabs for Archive, PTZ (when available), Events, and Info. Opening it from a Sub tile shows the tile’s picture at once while Main starts.
Capture a screenshot
Section titled “Capture a screenshot”In the overlay or the archive, press S or the screenshot button. The frame is taken from your browser, so it works even on cameras that allow one connection. Captures appear under Clips → Screenshots. An admin must first set an output storage under Settings → Storages.