Install Vision on Linux
Vision ships as a single Linux binary with the web UI and database embedded. The binary installs itself as a systemd service.
Requirements
Section titled “Requirements”- Linux x86-64 (Ubuntu 20.04+, Debian 11+, RHEL 8+, or any modern distro)
- 512 MB RAM minimum
rootaccess (for the one-time install)ffmpegandffprobeon the host — needed to probe cameras and export clips- One or more reachable Cesbo Alta servers
- Outbound HTTPS to
ls1–ls3.cesbo.comandapp.cesbo.comfor the license
Install
Section titled “Install”-
Run the installer
Terminal window curl -fsSL https://vision.cesbo.com/install.sh | shThe installer downloads the latest stable Linux x86-64 build, installs the binary to
/usr/local/bin/, and runsvision install. If you are not running asroot, it usessudofor the privileged steps.
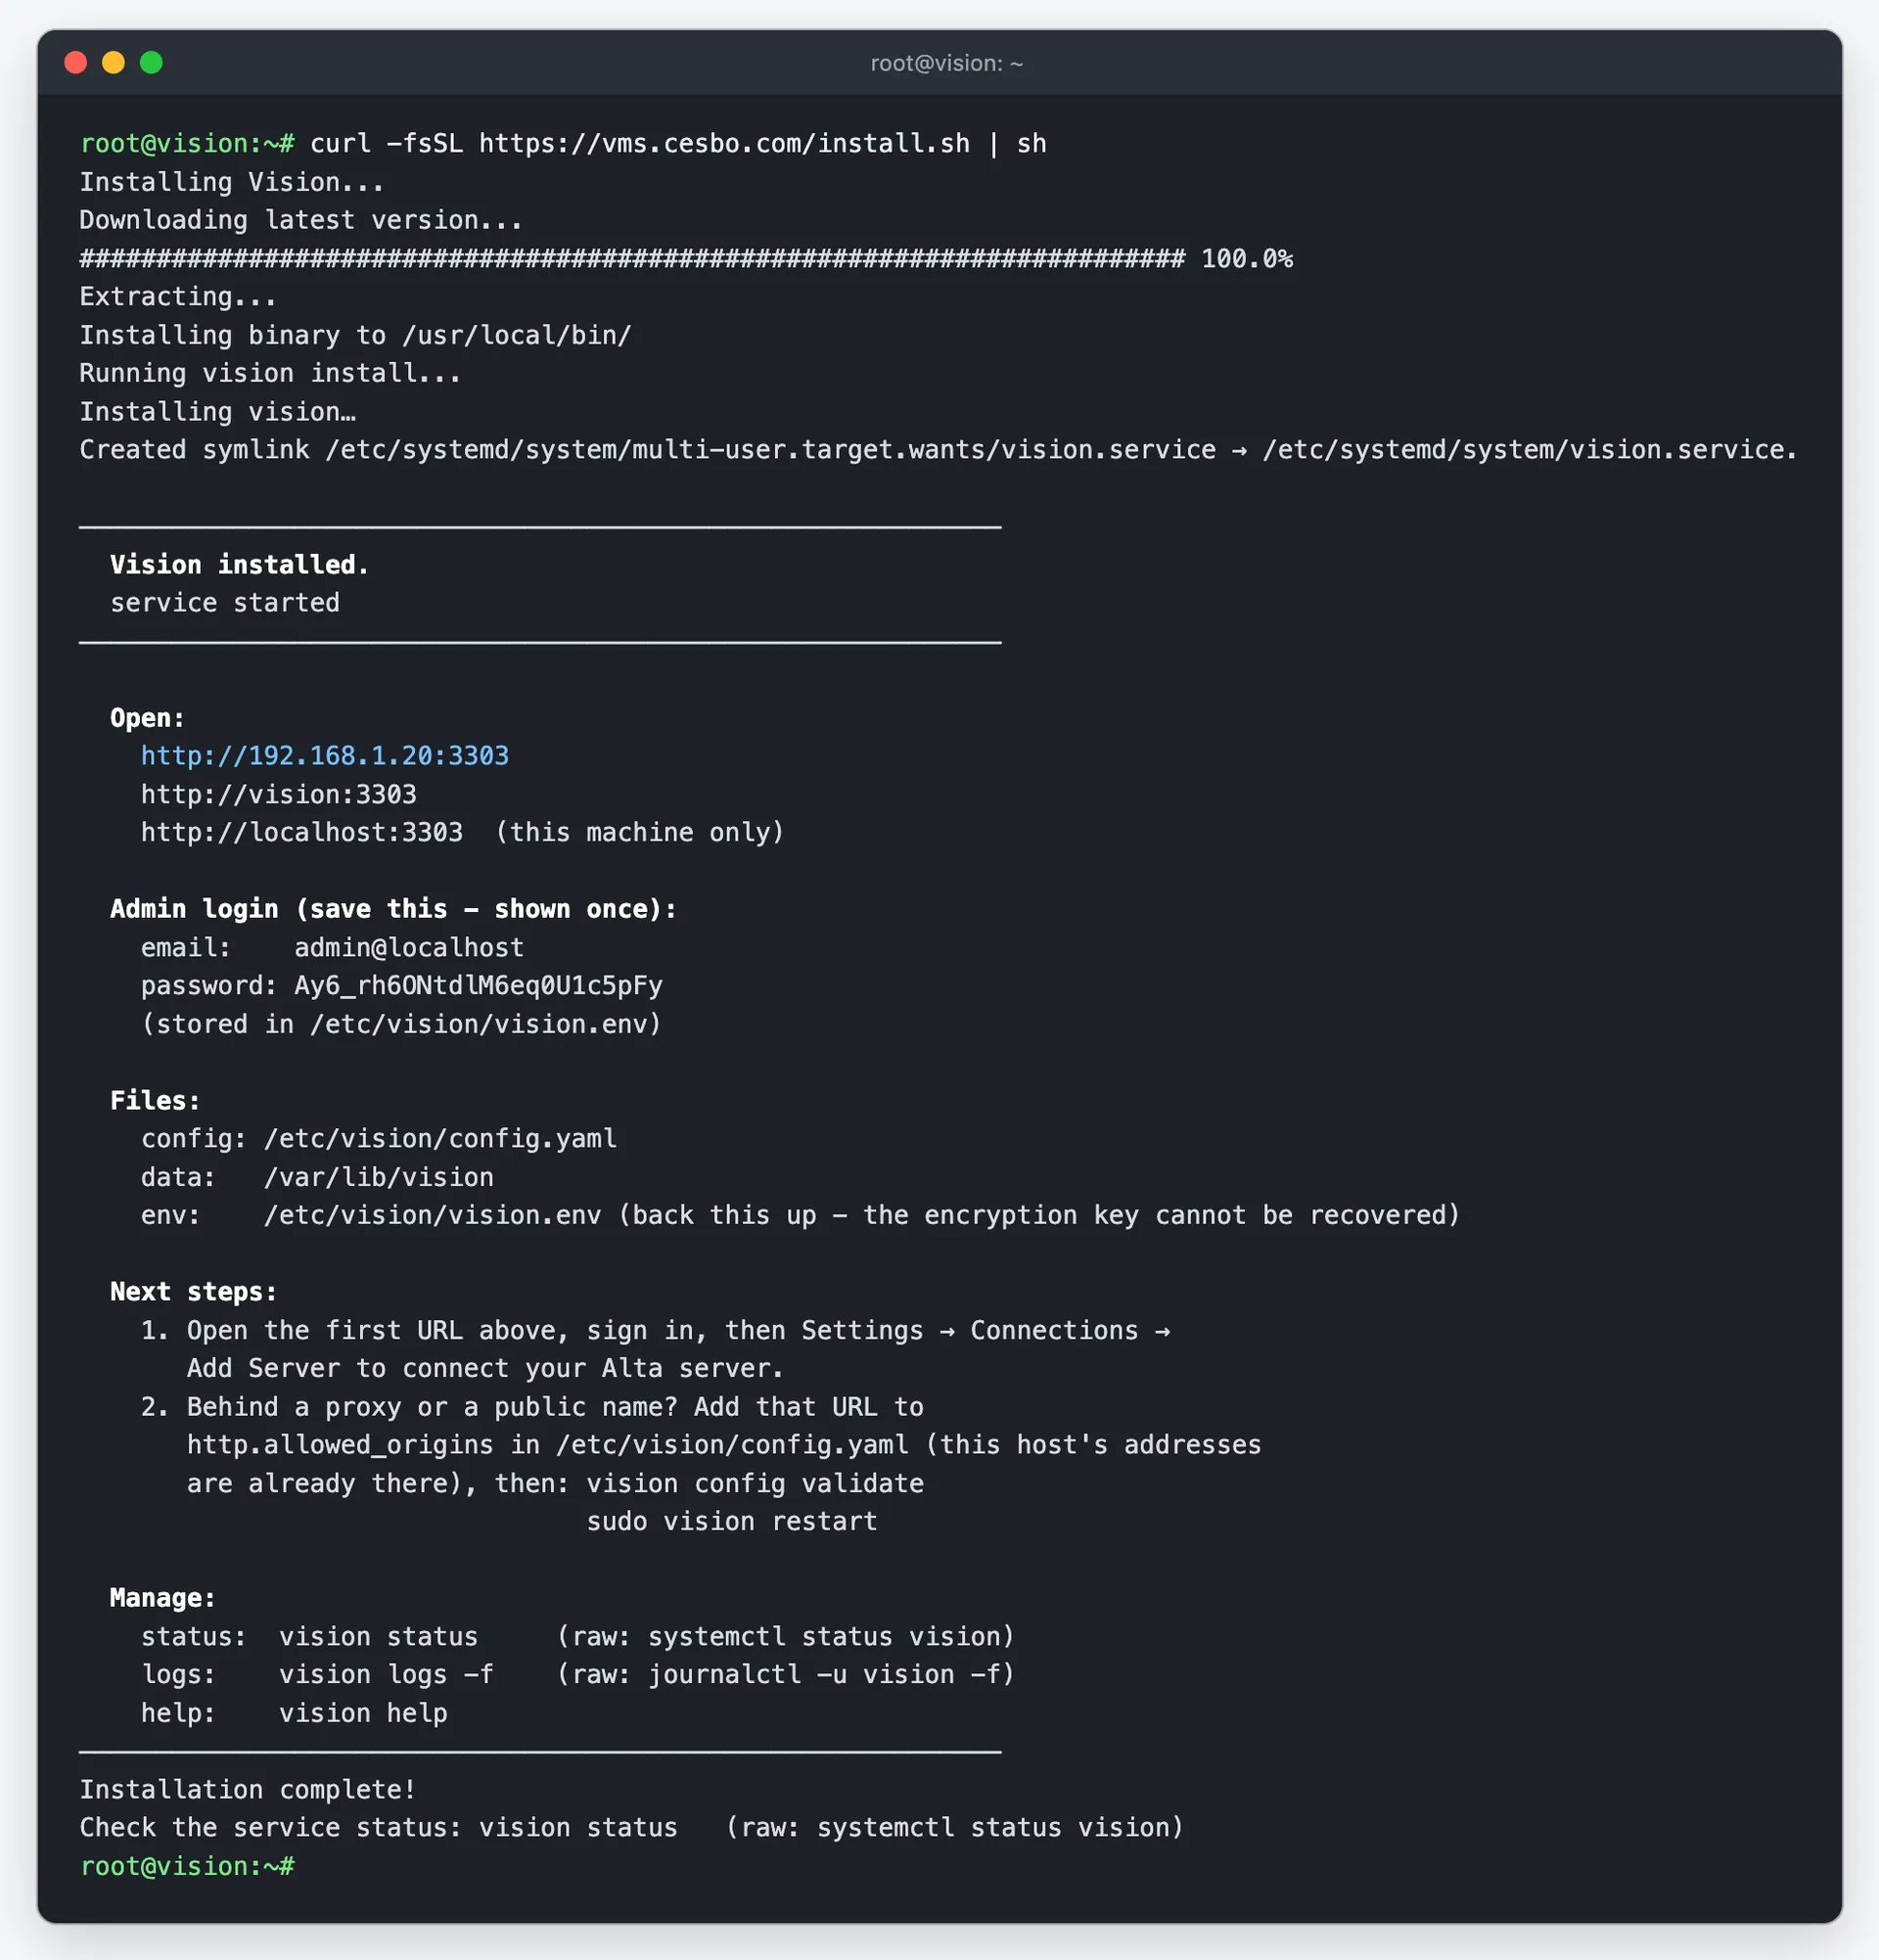
That’s it. The installer prints the URL to open (LAN address first) and the generated admin login.
Install a specific build
Section titled “Install a specific build”Builds are published at https://cdn.cesbo.com/vision/builds/vision-<tag>, with the tag’s leading v dropped — for example, release v261105 is the file vision-261105.
sudo curl -Lo /usr/local/bin/vision https://cdn.cesbo.com/vision/builds/vision-<tag>sudo chmod +x /usr/local/bin/visionsudo vision installWhat vision install does
Section titled “What vision install does”The installer is idempotent — re-running it after downloading a newer binary updates the service while keeping your config and data.
- Creates a dedicated
visionsystem user (no login). - Generates the encryption key, JWT secret, and a random admin password into
/etc/vision/vision.env. - Writes a production config to
/etc/vision/config.yaml. - Creates an empty
/etc/vision/license.txtfor the license and never overwrites it. - Stores the database and application data under
/var/lib/vision/. Camera recordings stay on Alta. - Installs and starts the
vision.servicesystemd unit. - Prints the access URL and admin credentials (shown once).
| Path | Purpose |
|---|---|
/usr/local/bin/vision | The binary |
/etc/vision/config.yaml | Configuration |
/etc/vision/vision.env | Secrets (keys, admin password) |
/etc/vision/license.txt | License serial, written by the activation |
/var/lib/vision/ | Database and application data |
/etc/systemd/system/vision.service | Service unit |
Before exporting clips or screenshots, select a default destination under Settings → Storages → Clips & Screenshots. Export files are not included in routine vision backup archives.
First login
Section titled “First login”Open the URL printed by the installer (by default the server listens on port 3303):
http://your-server-ip:3303The installer writes http.secure_cookies: false, so login works over plain http://. Once HTTPS is in front (reverse proxy), set it to true and run sudo vision restart.
Log in with the admin email and password shown by the installer. The first screen is Settings → License: Vision stays locked until it is activated. The email is always admin@localhost; the password is generated. Both are also stored in /etc/vision/vision.env.
Next steps
Section titled “Next steps”- Activate the license — Settings → License → Activate. A fresh install is locked until you do.
- Add your Alta server — Settings → Connections → Add Server. Until then,
vision statusreports Not ready: no Alta server yet. - Add cameras.
- Set an output storage for clips and screenshots under Settings → Storages.
http.allowed_origins is pre-filled with the detected LAN addresses. Edit it in /etc/vision/config.yaml only when users reach Vision through a proxy or a public name, then run sudo vision restart.
Manage the service
Section titled “Manage the service”sudo vision status # unit state, readiness, data sizessudo vision restart # validates the config, then restartssudo vision logs -f # follow logs (no root needed)vision version # print versionsudo vision uninstall # remove (add --purge to also delete data + user)The service restarts automatically on failure (systemd Restart=on-failure). These are thin wrappers around systemctl/journalctl — see the CLI Reference for the full command set, including vision doctor for offline diagnostics and vision backup/vision restore for backups.
Updating
Section titled “Updating”To update to the latest stable build, re-run the installer — it downloads the latest binary, extracts it, and re-runs vision install, keeping your config and database:
curl -fsSL https://vision.cesbo.com/install.sh | shTo do the same by hand, https://cdn.cesbo.com/vision/latest/vision-linux-x86_64.tar.gz serves a gzipped tarball containing the vision binary:
curl -L https://cdn.cesbo.com/vision/latest/vision-linux-x86_64.tar.gz | tar -xzsudo ./vision installinstall restarts the service whenever the running process is older than the binary on disk.