User Guide
The left sidebar has four groups:
| Group | Items |
|---|---|
| Monitor | Live View — the video wall |
| Manage | Cameras, Groups, Maps |
| Investigate | Events, Clips (clips and screenshots), Logs |
| Admin | Settings |
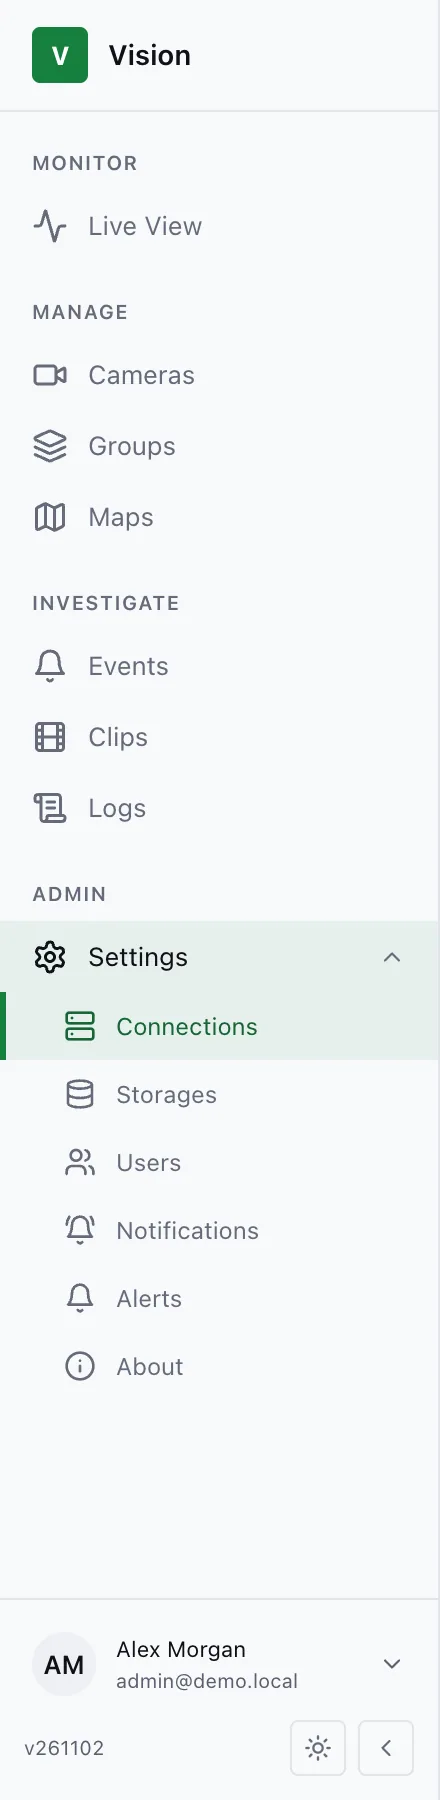
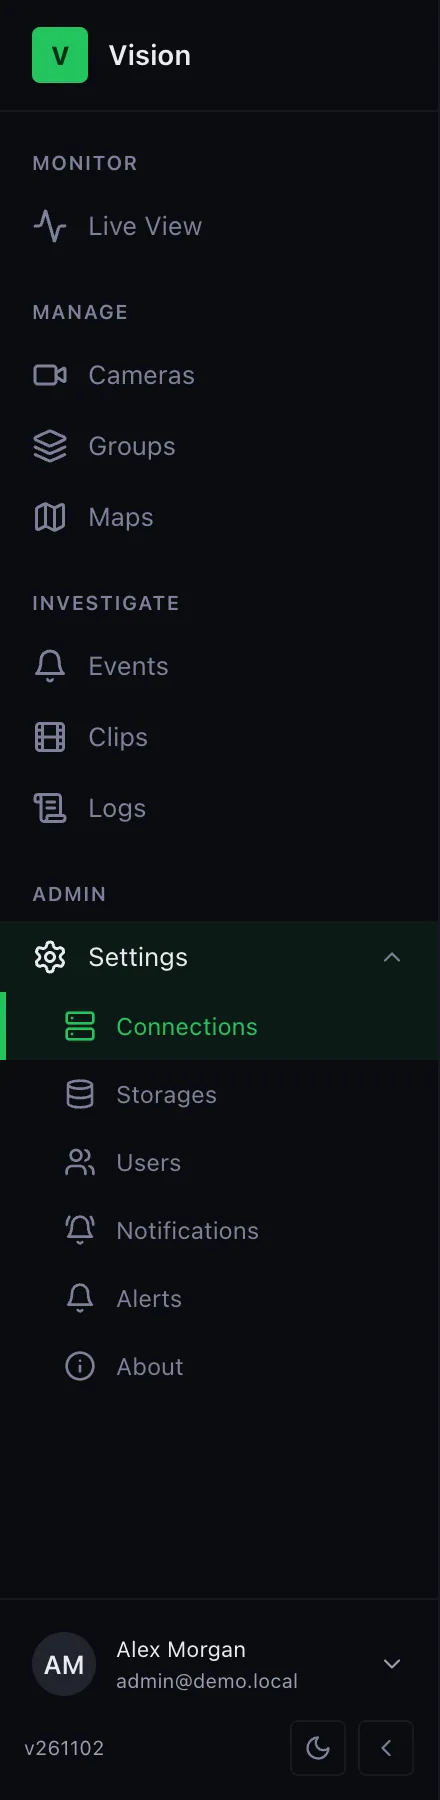
Settings unfolds in the same sidebar: Connections (Alta servers), Storages, Users, Notifications, Alerts (your own alert preferences), and License (activation and the Vision version). Click it once to open Connections, again to fold it. On a phone, the menu drawer lists the settings pages.
Every page works on a phone: lists keep their key columns and filters stack under the title.
What Vision does
Section titled “What Vision does”Vision is the control plane for your Cesbo Alta servers. Alta ingests and records the camera streams; Vision adds the video wall, archive timeline, events, alerts, and per-group access in the browser. Recordings stay on Alta.
First steps
Section titled “First steps”- Connect an Alta server — Settings → Connections.
- Add cameras — ONVIF discovery or by hand.
- Organize them into groups (optional) and grant access.
- Open Live View and save your walls as views.
- Set up alerts so you’re notified when something changes.
A typical session
Section titled “A typical session”- Open a saved view in Live View (keys
1–9). - When the bell rings, open the alert: it links to the camera or server.
- Open the camera’s Archive tab and scrub to the moment.
- Export a clip or take a screenshot, and find it later under Clips.